

Monthly Portrait Photo Tips

Whether you’re the mom who forgets the monthly photos and takes them a week (or two 😉 ) late, or you’re the mom who is ON IT, it can be a lot of fun to look back at monthly photos of your baby to see how much and how quickly they grow.
No matter what those photos look like, they are photos of YOUR baby! So, while my aim today is to provide a few tips on how to take your monthly photos up a notch, I think it’s important to remember that your baby is still the cutest, and not to be too hard on yourself about what your images look like. These pictures will grow more and more precious with every passing year, and in the end you are going to treasure them no matter what. <3
With that in mind, I’d love to share some tips that will help you get FRAMEWORTHY photos of your babies! I’ve got five tips that I think will be very helpful for you as you consider how to set up your shots.
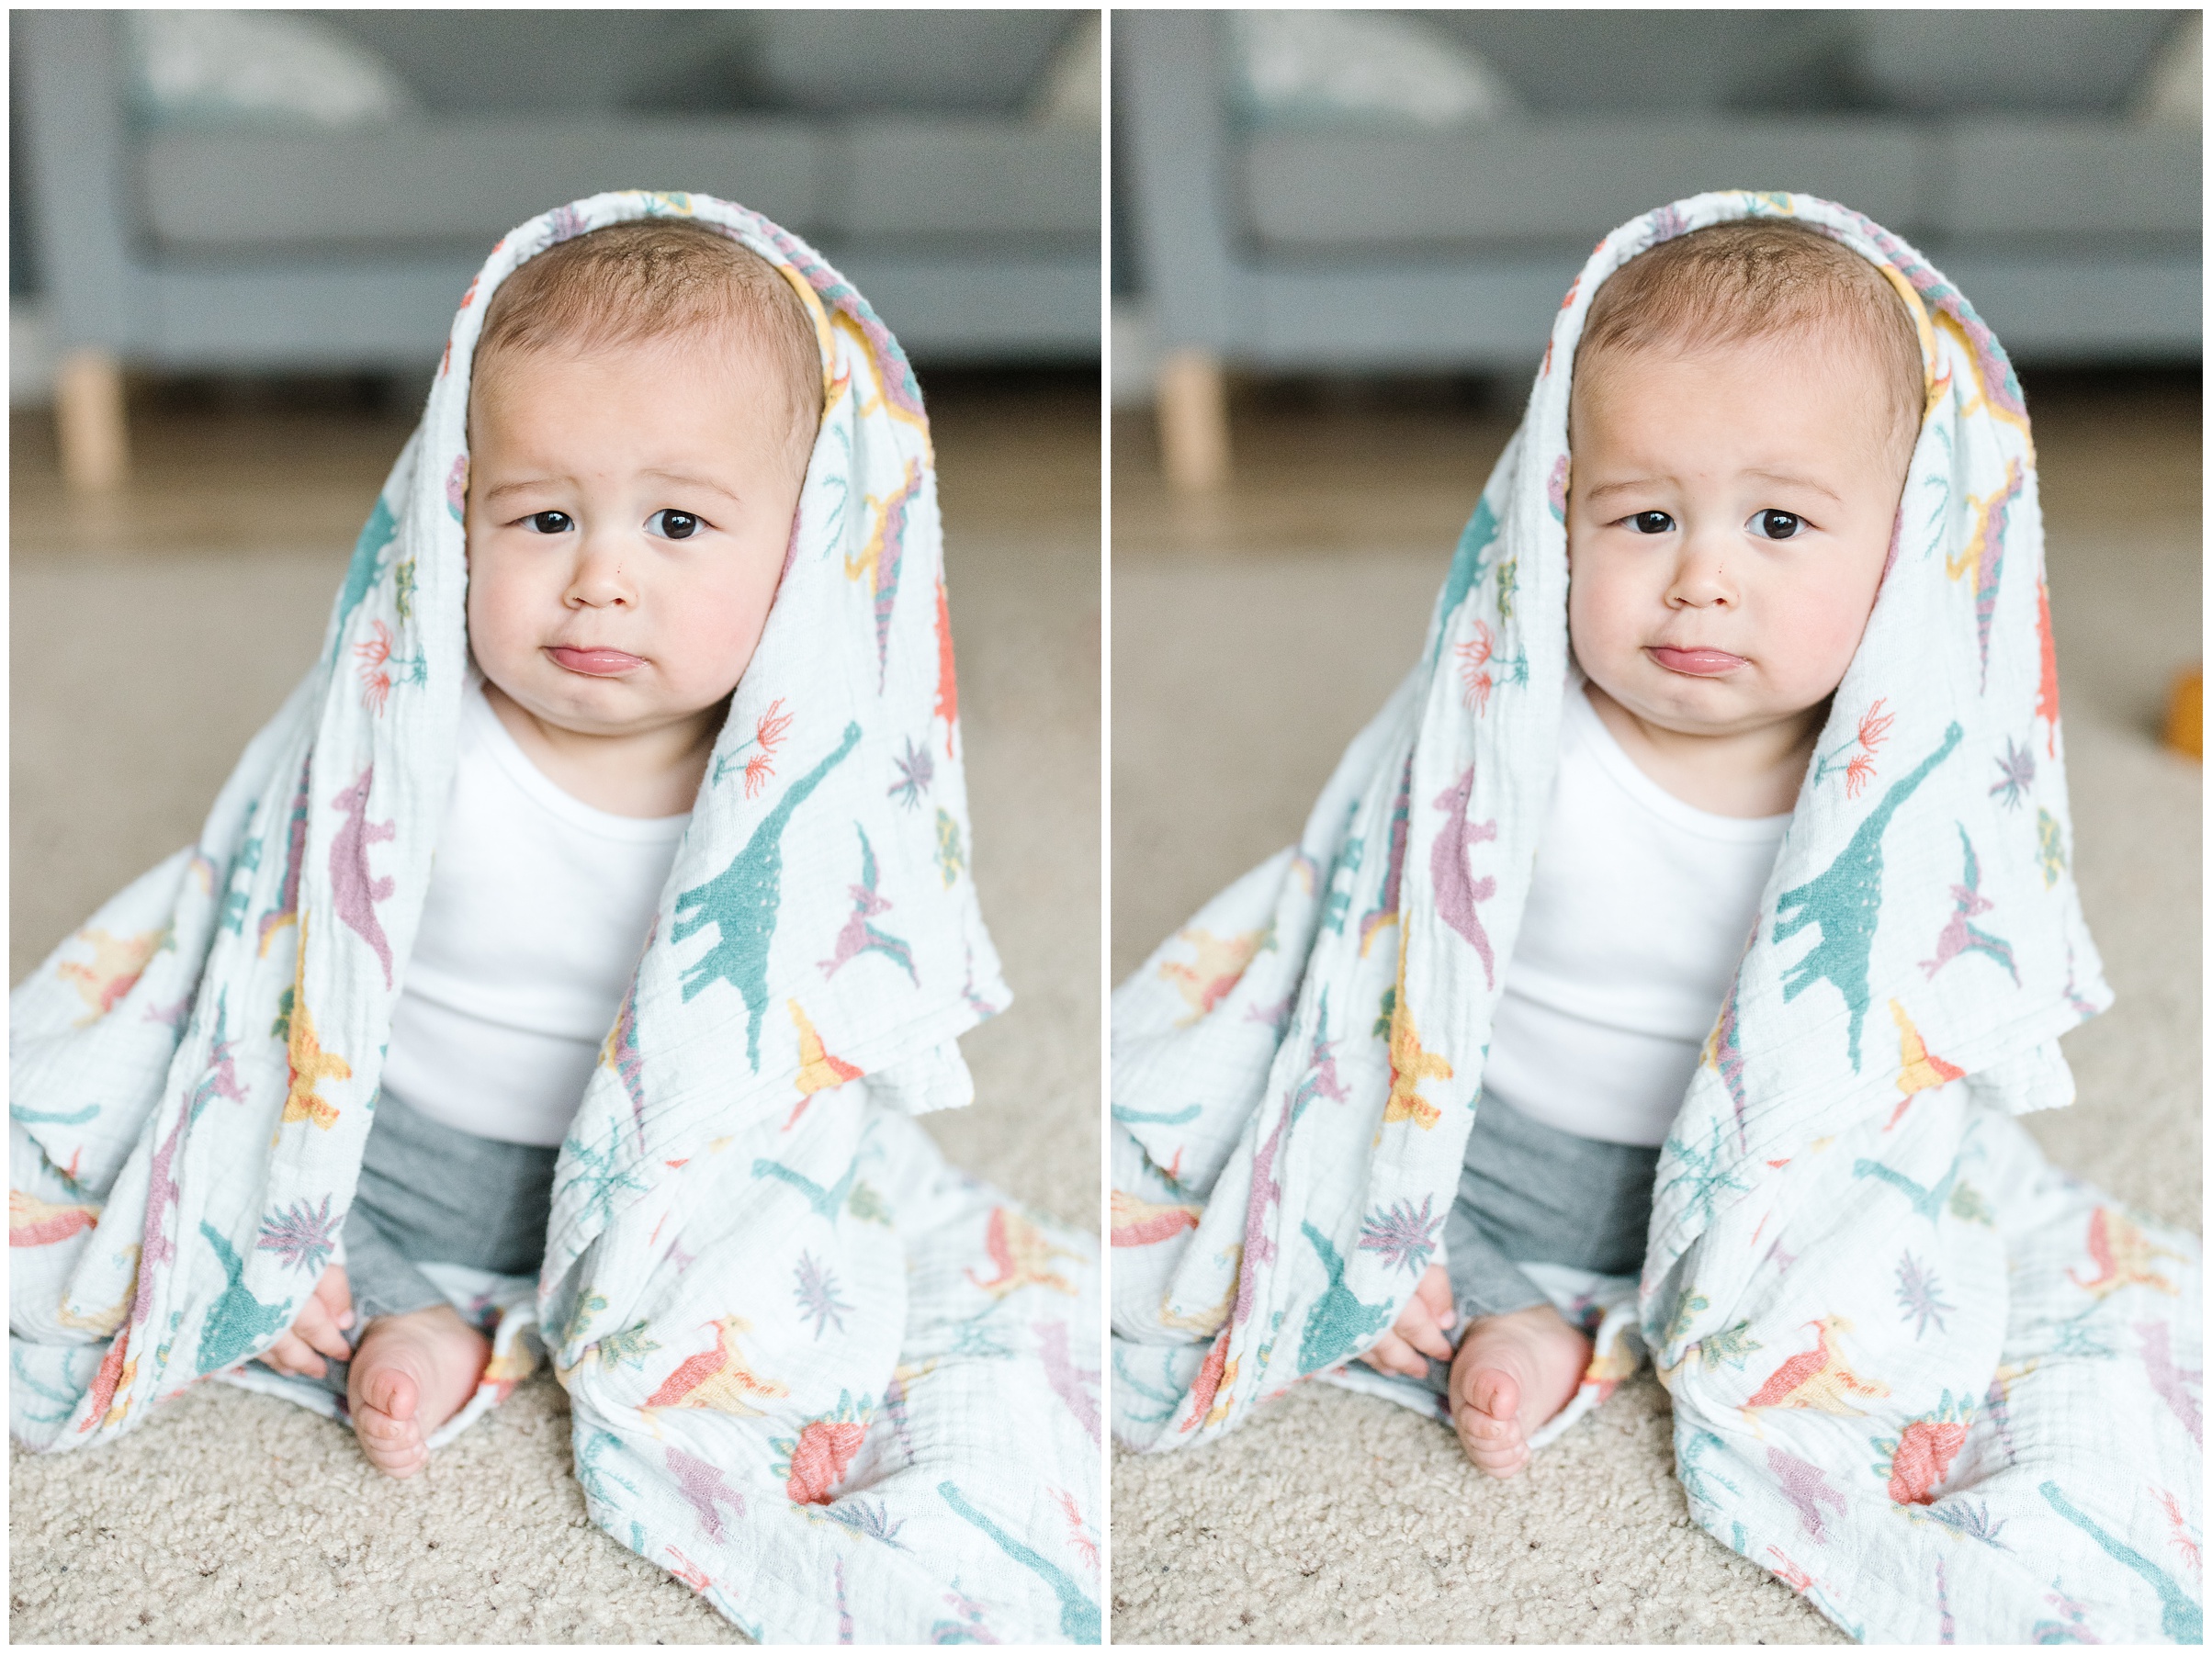
1. Be mindful of the background.
This may seem like an obvious one, but being aware of what is in the background can make or break a photo! When you look at a photo, you want the subjects to be the main focus of the image. You would think that if they are centered in the picture, that they would be the main focus. However, our eyes are able to get caught on even small objects or items in the background or the edges of the photos (think outlets, toys, dark black spots), which can be distracting. I always opt for choosing neutral and light backgrounds that make my eyes go straight to the subject – my adorable baby!
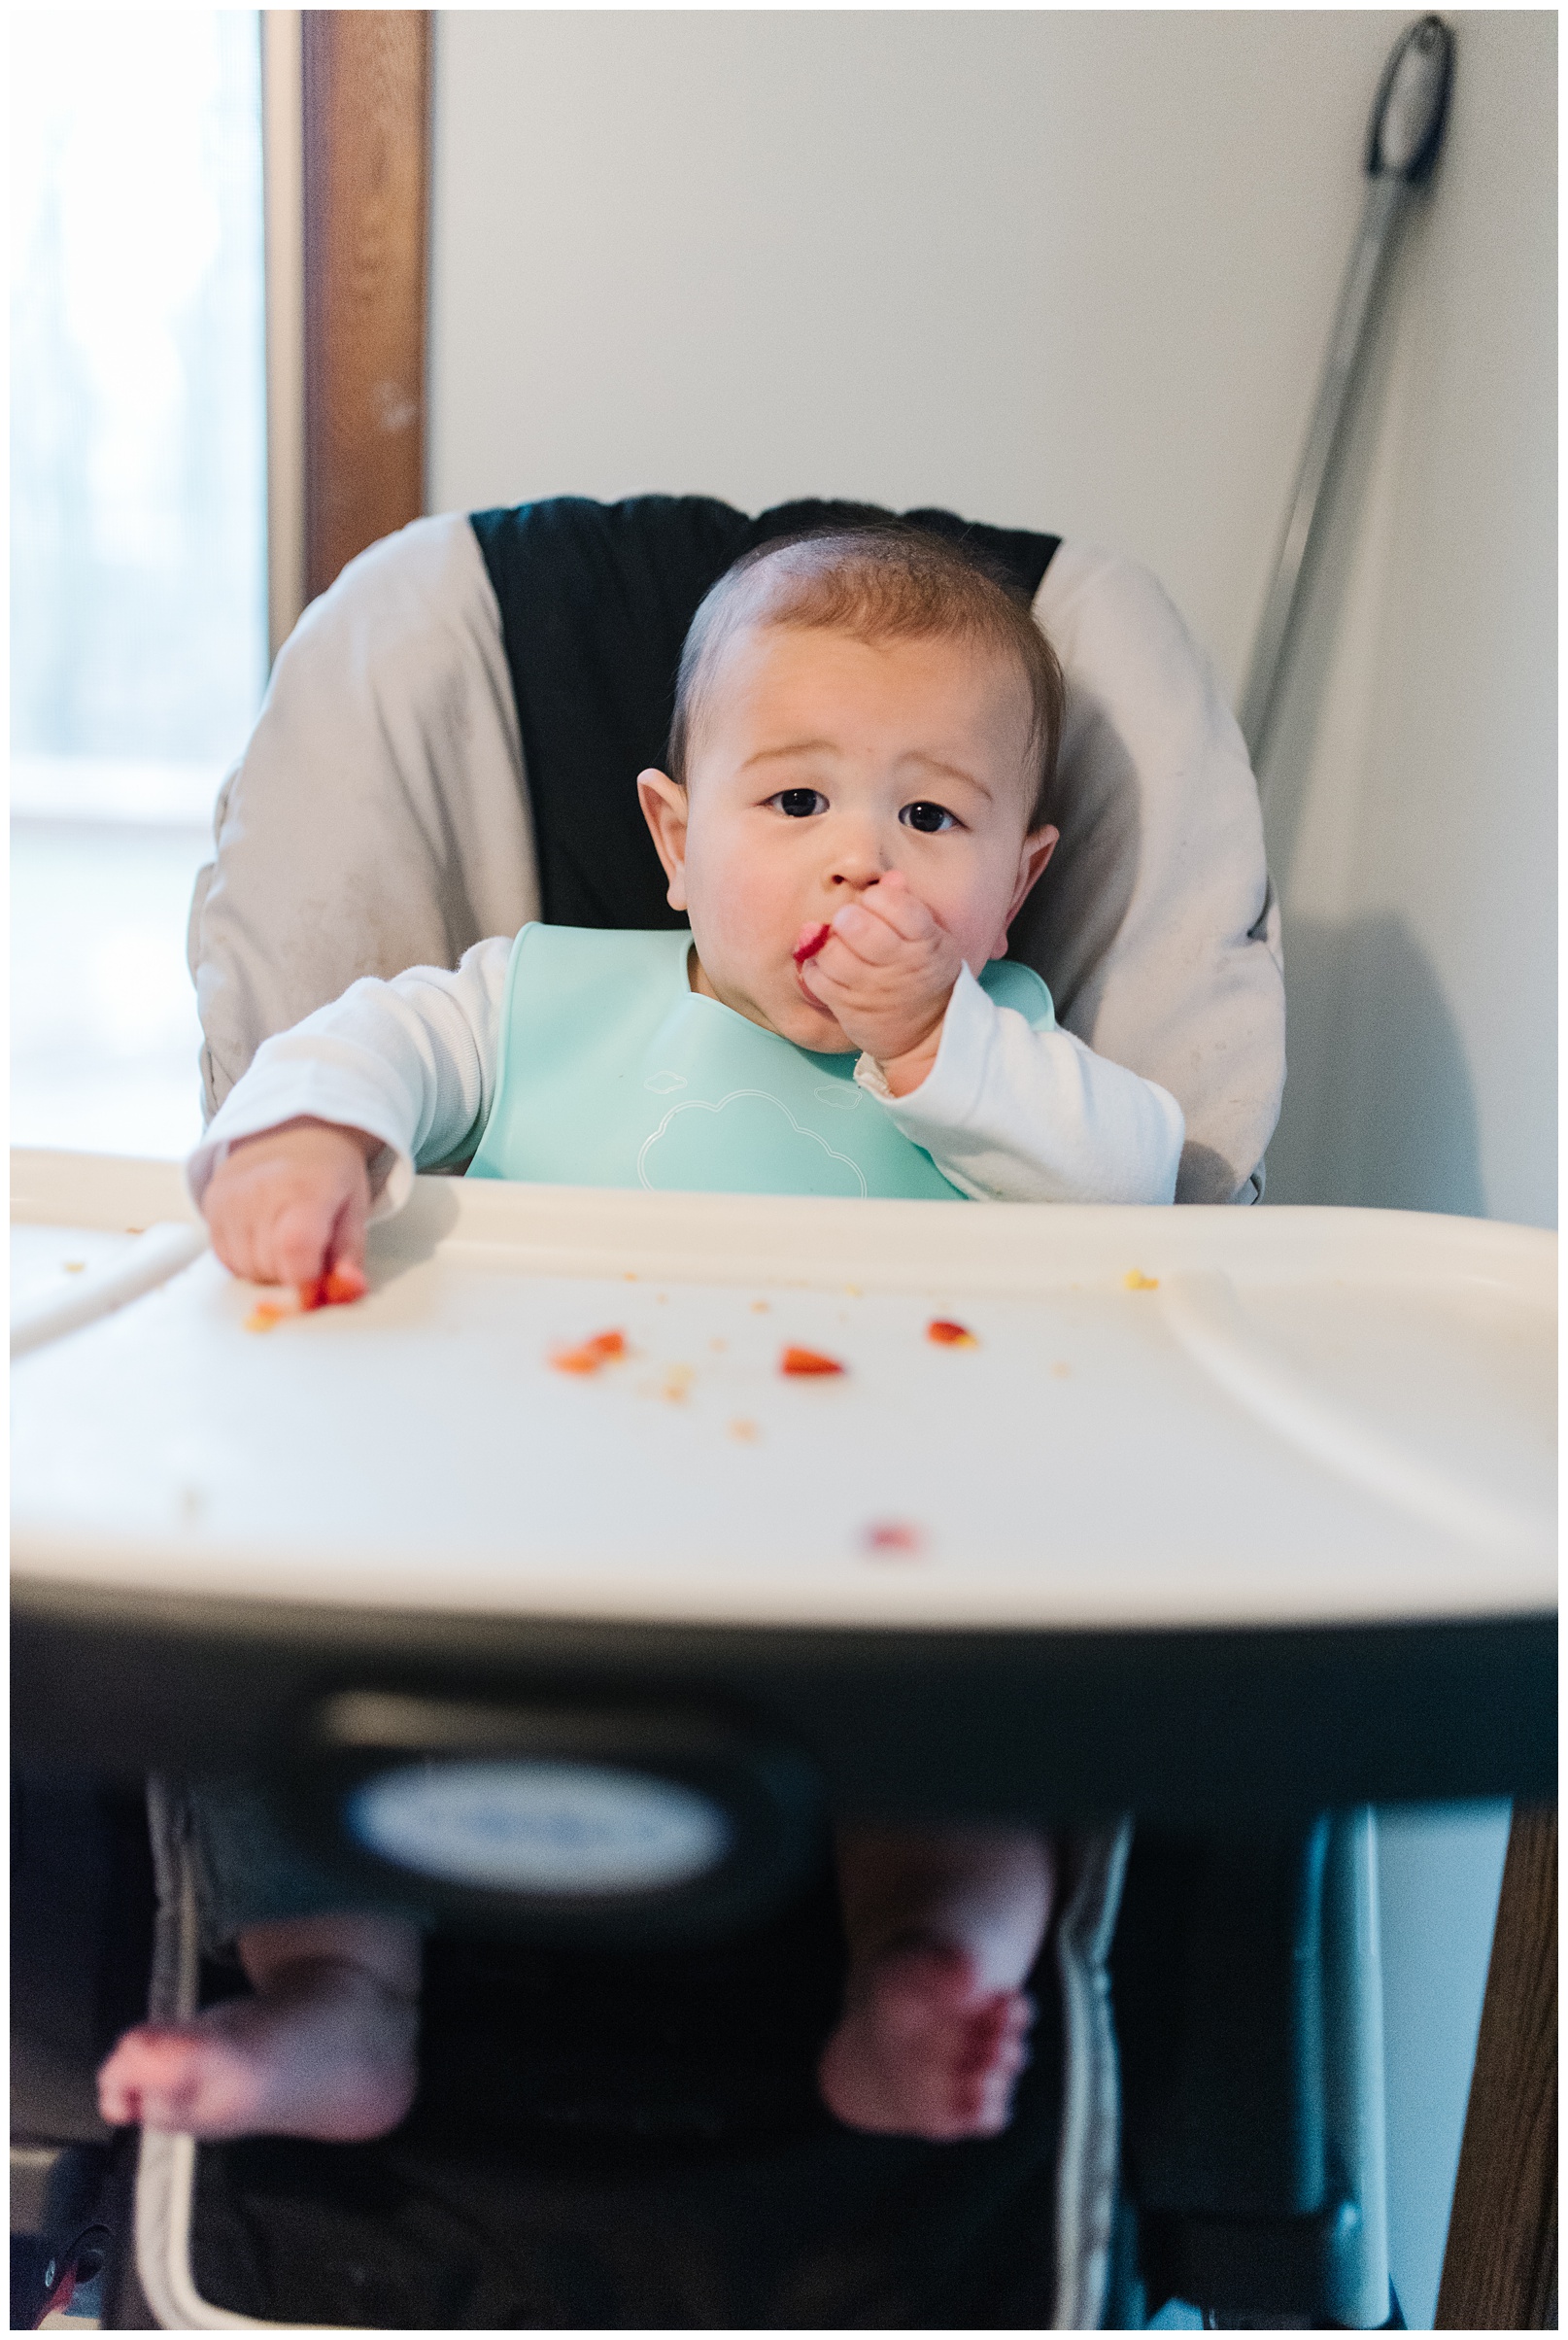
I’ve gotten pretty good at remembering to remove distractions, but you can see what a difference it makes in the photos below when even very small distractions are removed! I don’t have a secondary image for the photo of Nate eating, but you can imagine that the image would be much stronger without the broom in the background.

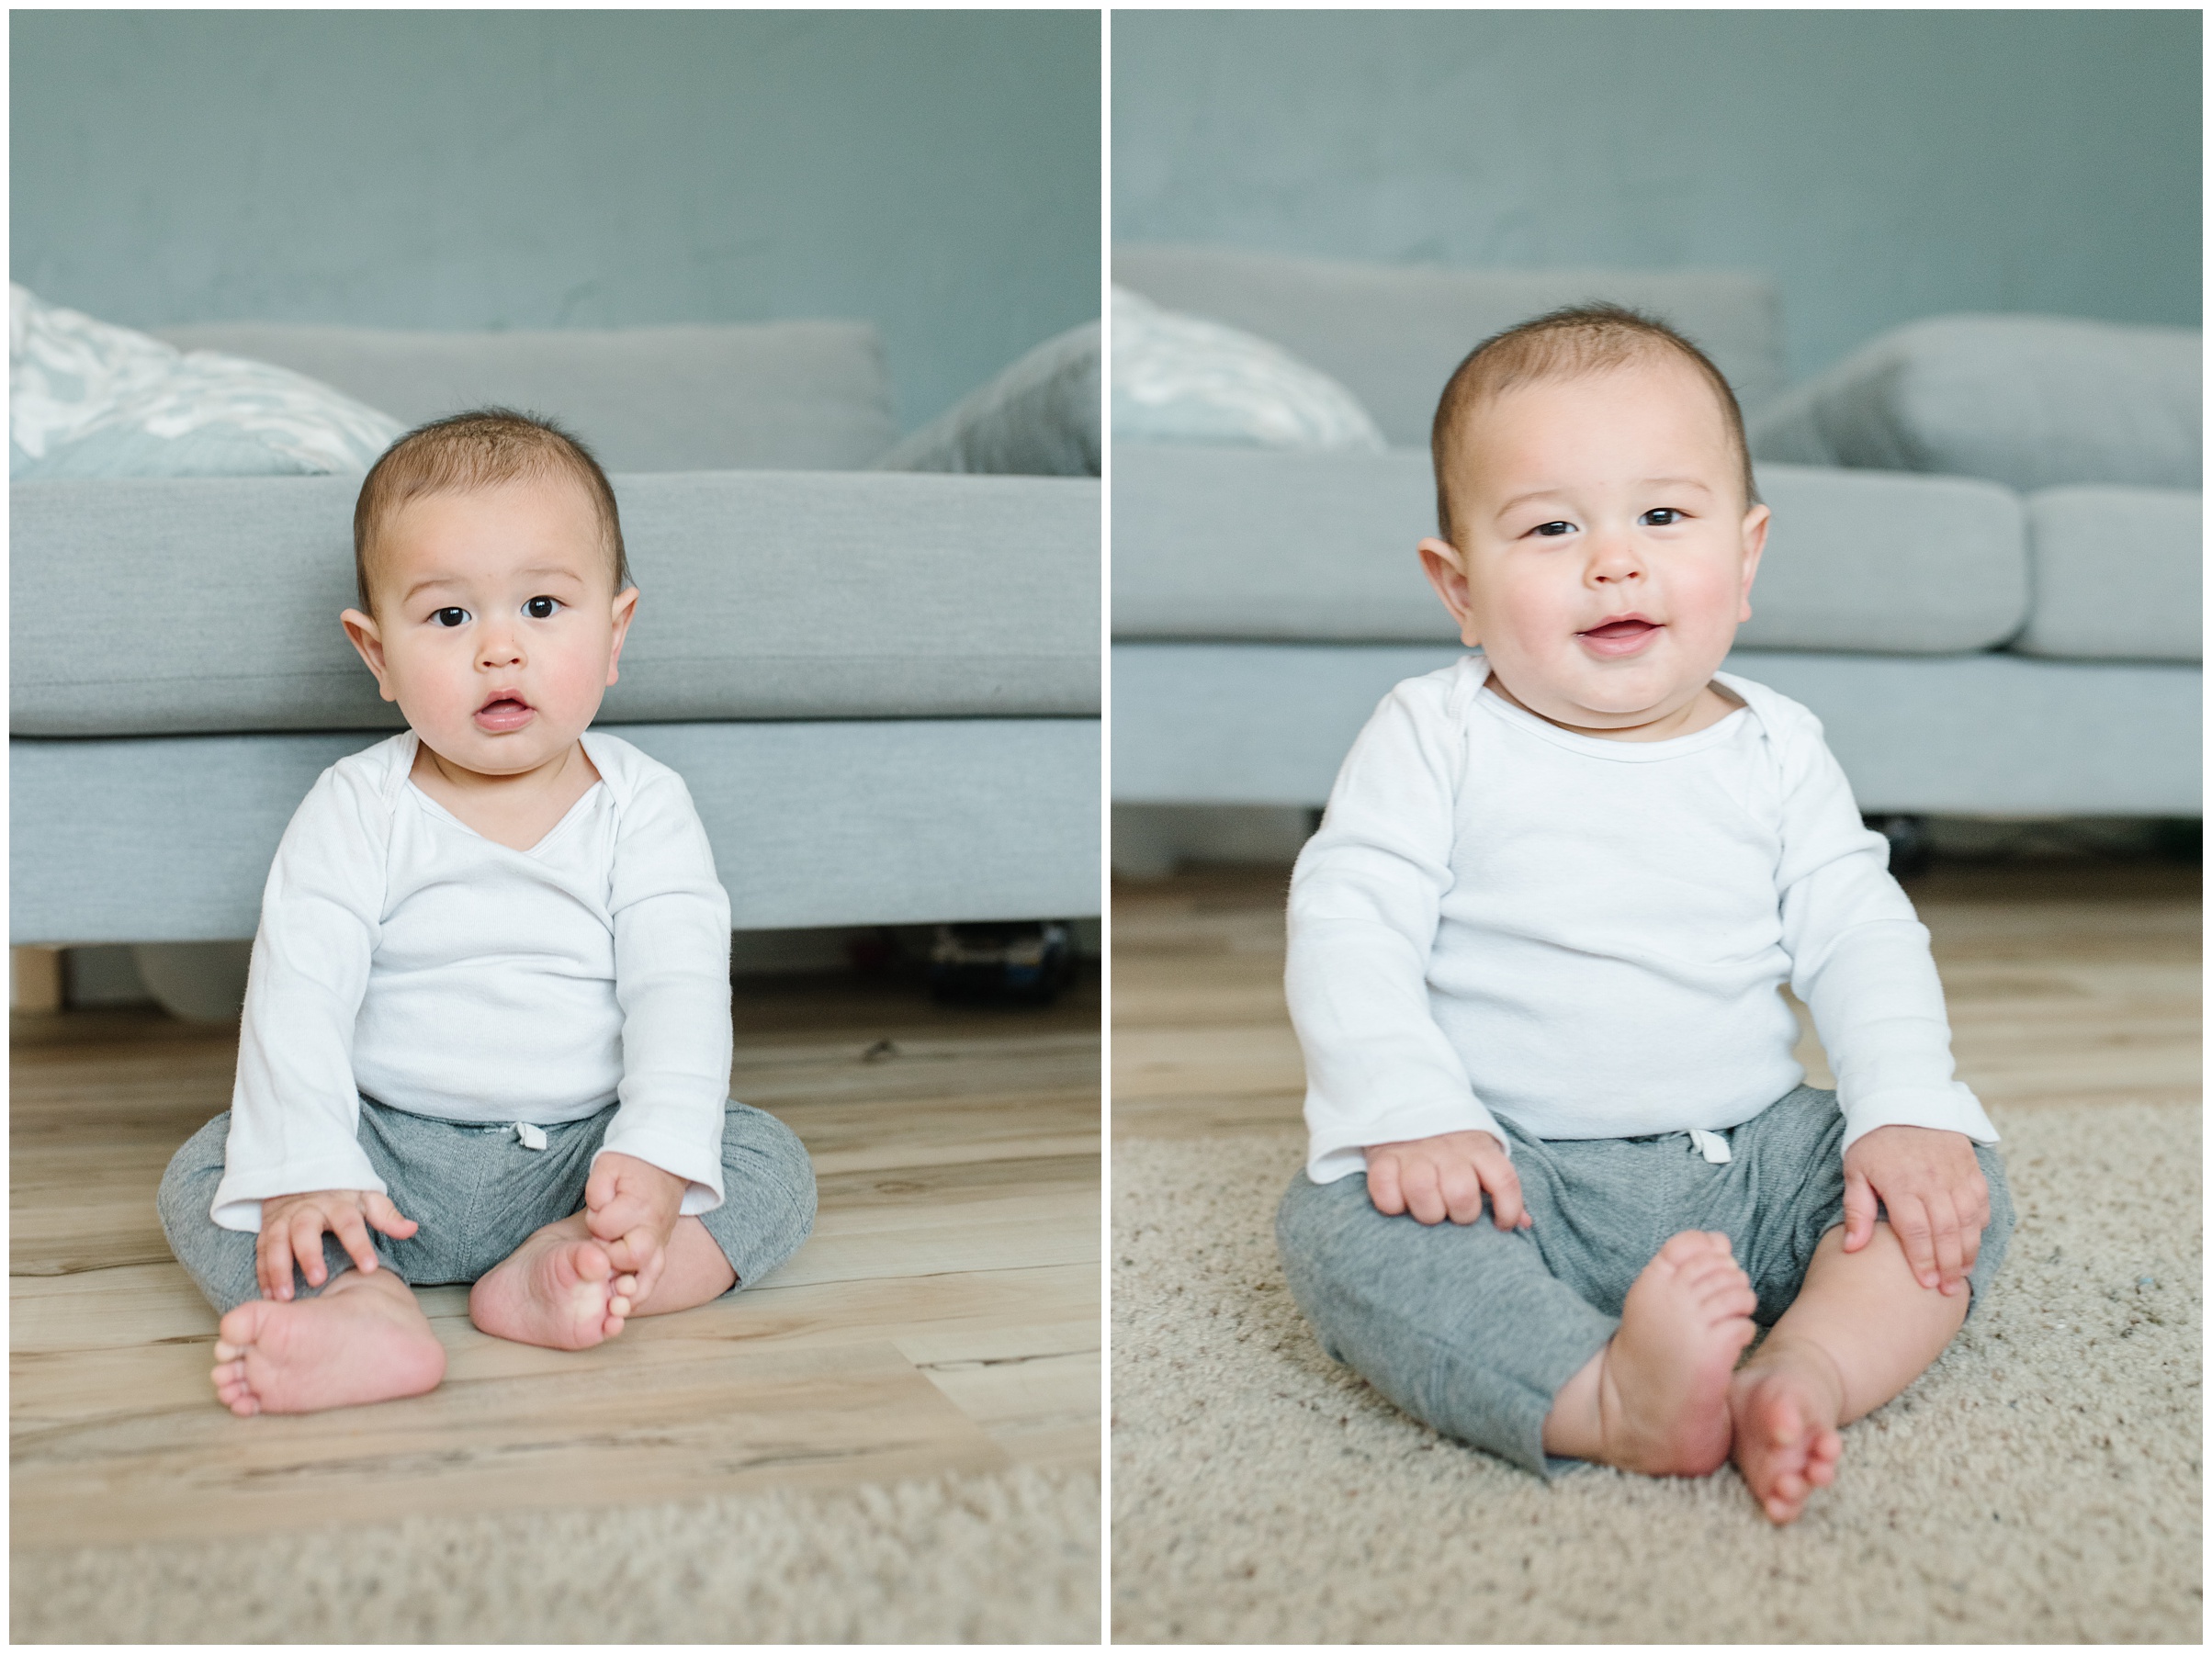
2. When possible, pull your baby away from the objects in the background!
This won’t always be possible when you’re photographing VERY young babies where they need to be propped (more tips on this coming!), but if your baby is older, sitting or crawling, pull them away from the background to add a little more depth into your photo and bring even MORE focus onto them as the primary subject in the photo!
(side note- I’m not sure how he suddenly gained 5 lbs in the second photo)
3. Turn overhead lights off, when possible.
Our cameras and phones won’t always be able to handle low lighting if you are set on taking photos in a specific location. If you’re flexible as to where you’ll take the photos, it’s best to turn off overhead lights and choose locations near windows where the light coming through is clean and will make the skin tones look natural! Avoid fluorescent lighting whenever possible!
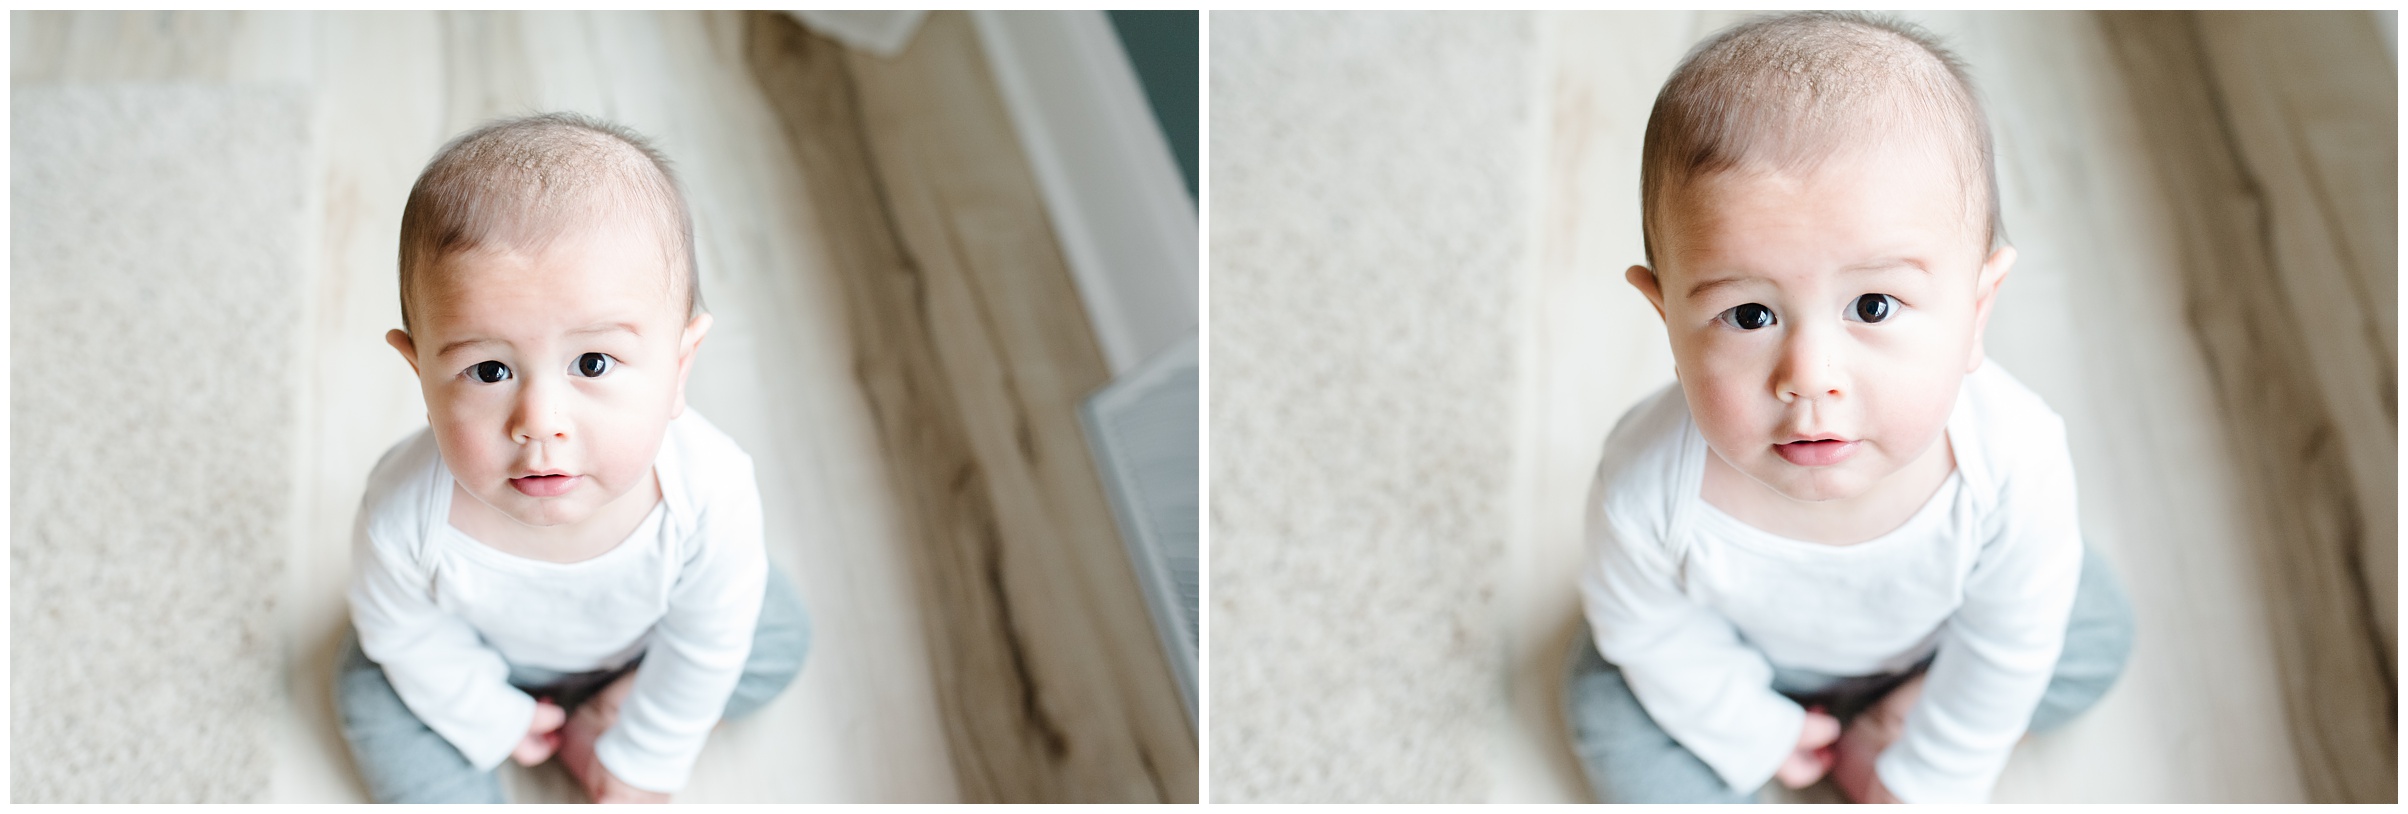
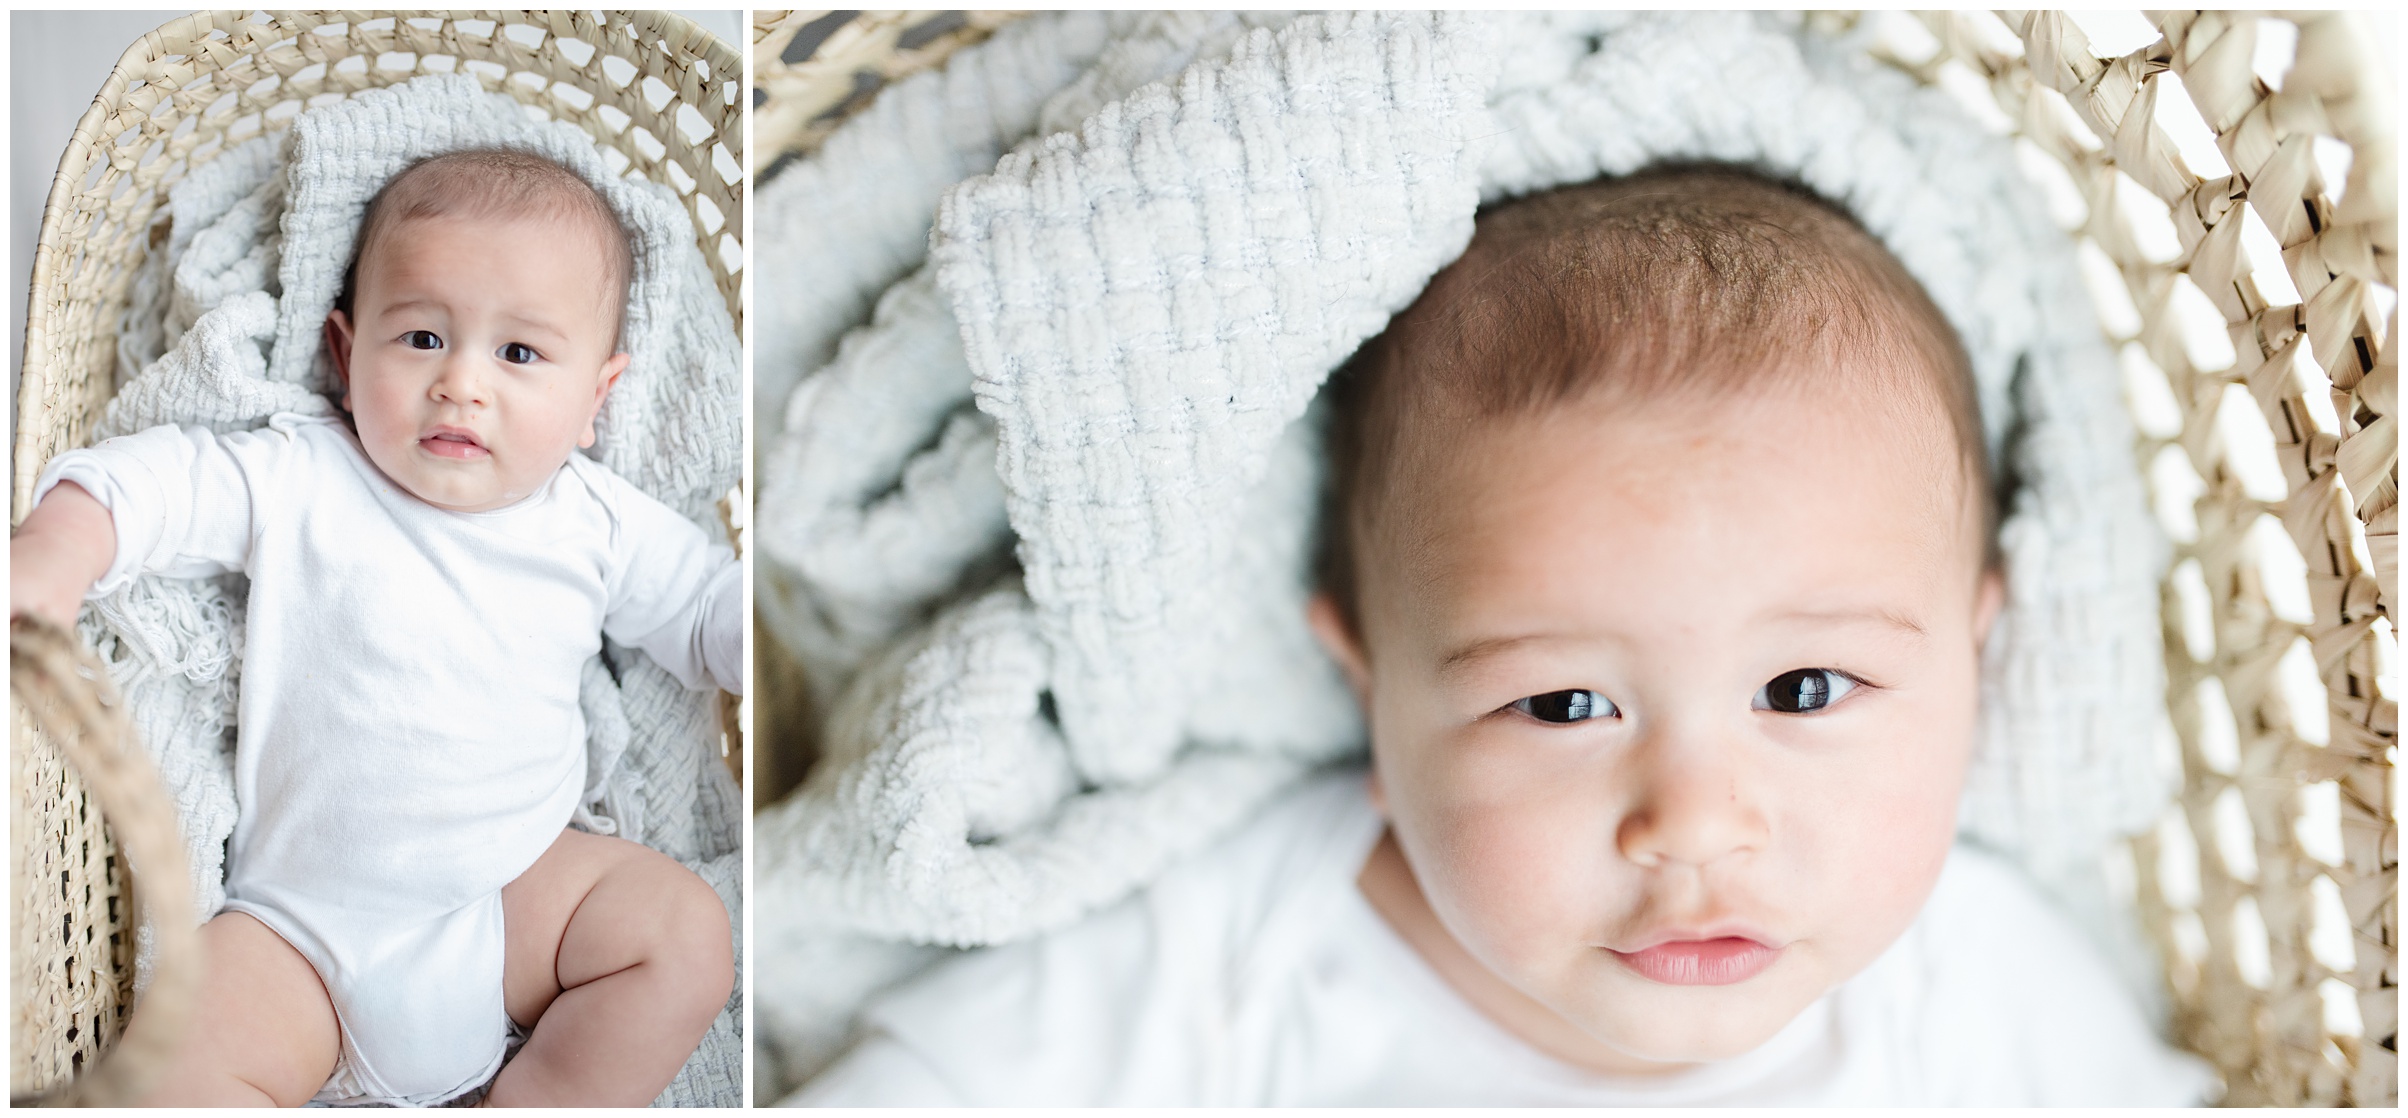
4. For young babies that need to lay down, make sure to prop their head up OR move yourself so that the angle is somewhat flattering!
Have you ever opened up your phone while it was under your chin, only to look into your phone and think “OMG DO I REALLY LOOK LIKE THAT?!” An upward angle just isn’t always flattering!
This series of photos is taken at a somewhat unflattering angle (though lets be real, he makes the double chin look CUTE!) In the basket, his head is not propped, which adds to the double chin look.

These photos have his head better propped, and are shooting at more flattering angles.
5. Get the details. Take the wide shots, the close ones, and everything in between. You will want to see every part of your baby when they’re not so small anymore. And always remember to take photos without their pants, because you will not regret having pictures of those chunky baby thighs <3

I hope this helps you in some way or gives you inspiration to photograph your own babes! Let me know what you found most helpful in the comments!


